Mastering Precision: The Ultimate Guide to Using a Protractor and Compass for UK Woodworking and DIY
A practical, hands-on guide for UK makers and DIY enthusiasts who want professional-grade layout accuracy using angle-measuring and compass tools — with real workshop tips from someone who's been there.
Why a Protractor and Compass Still Matter in 2026
Accurate angle measurement is the foundation of every decent woodworking and DIY project. Full stop. Whether you're fitting skirting boards in a Victorian terrace or building a bespoke shelving unit, your protractor and compass are the tools that separate a bodge job from something you're genuinely proud of.
I've spent years messing about with various measuring gear — from a basic tape measure to fancy digital gadgets. And honestly? The combination of a quality angle ruler and a reliable compass for scribing arcs hasn't been replaced by anything better. It's been enhanced, sure. But not replaced.
Here in Belfast, I see plenty of DIY projects where folk have eyeballed an angle and hoped for the best. The results speak for themselves — gaps you could post a letter through. A decent angle finder paired with a scribing compass gives you repeatable accuracy of ±0.1° to ±0.3° depending on the tool quality. That's the difference between "near enough" and spot on.
Key fact: According to BSI (British Standards Institution), precision measuring instruments used in trade applications should conform to ISO 17123 standards for calibration accuracy. Even for home DIY, working to these benchmarks means your joints close properly and your mitres look professional.
The real magic happens when you use these tools together. A protractor gives you the angle. A compass transfers that measurement to your workpiece with consistent radius. That synergy — angle measurement plus geometric layout — is how cabinetmakers have worked for centuries. We've just got better tools now.
Understanding Your Angle and Layout Tools
Right, let's break this down properly. There's a lot of confusion about what each tool actually does, especially with digital options flooding the market this spring.
The Protractor (Angle Measurement)
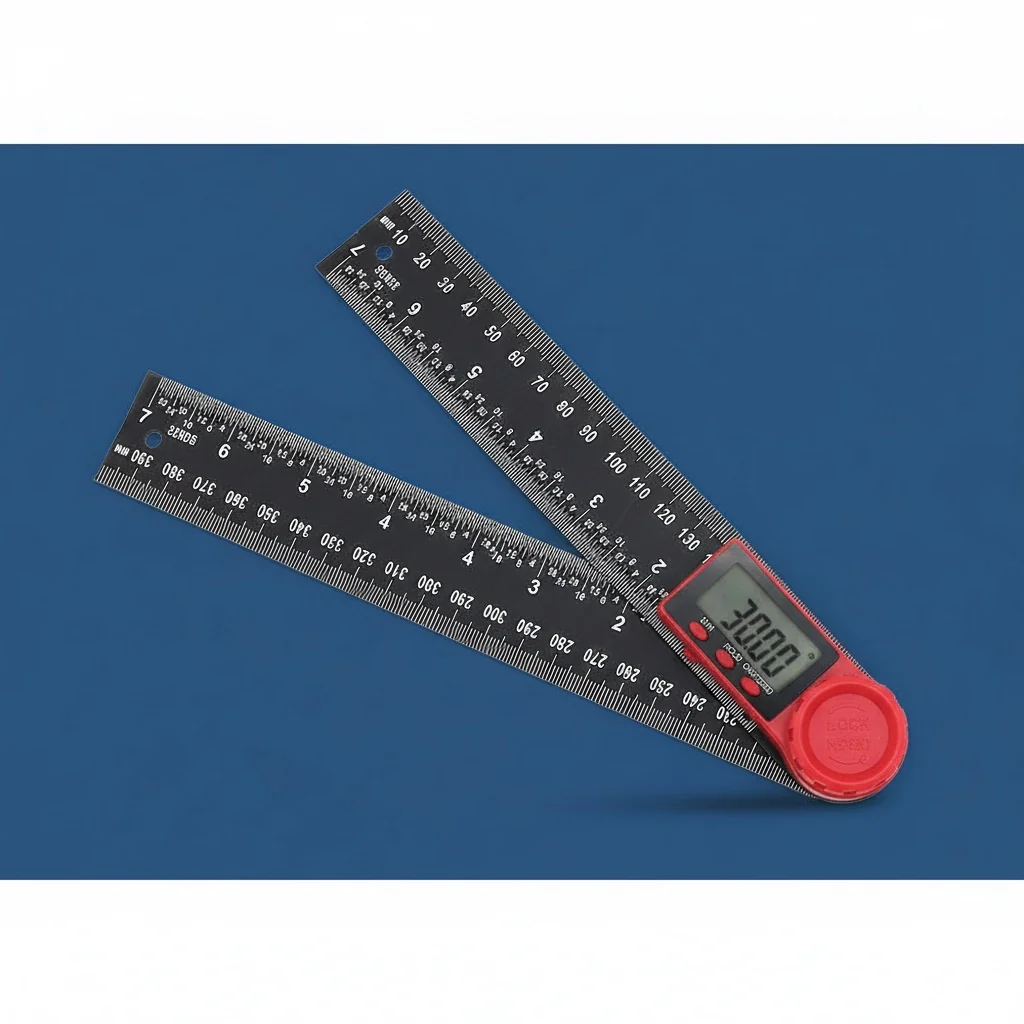
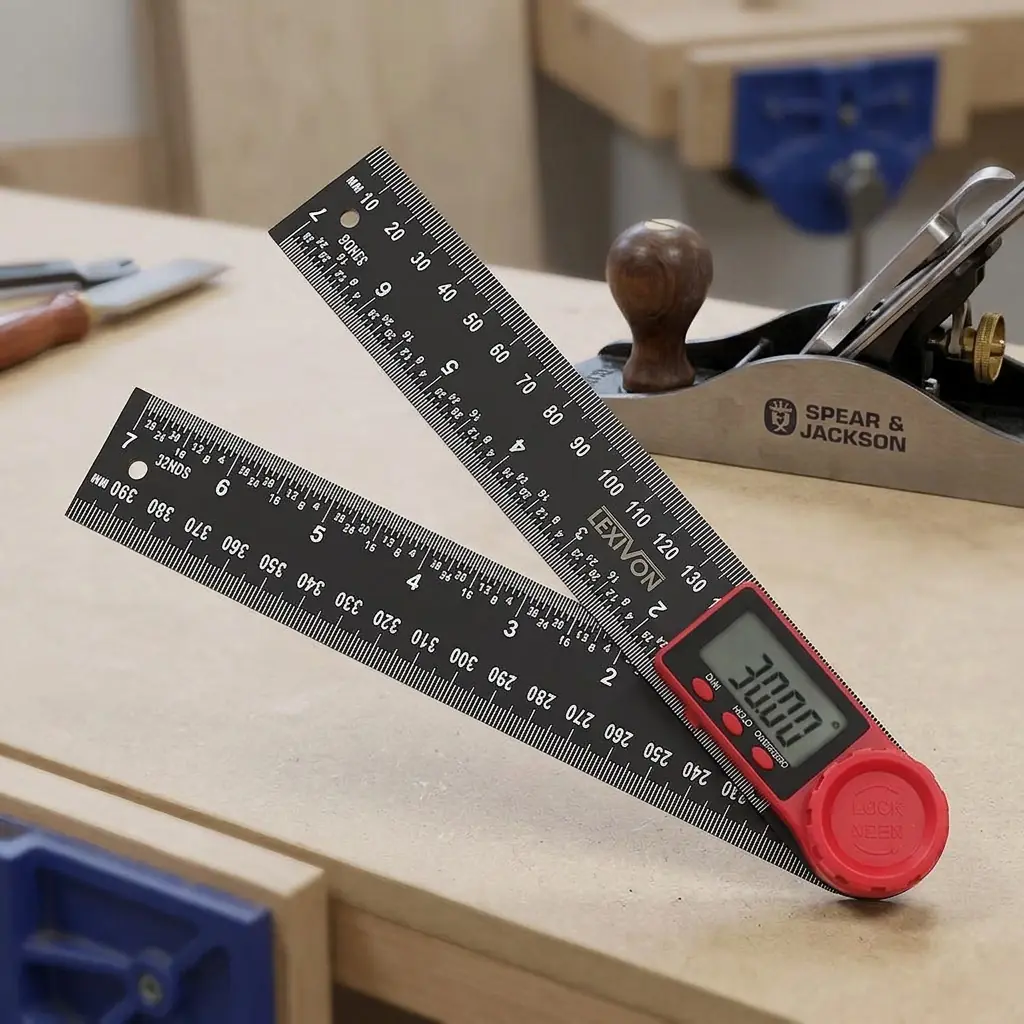
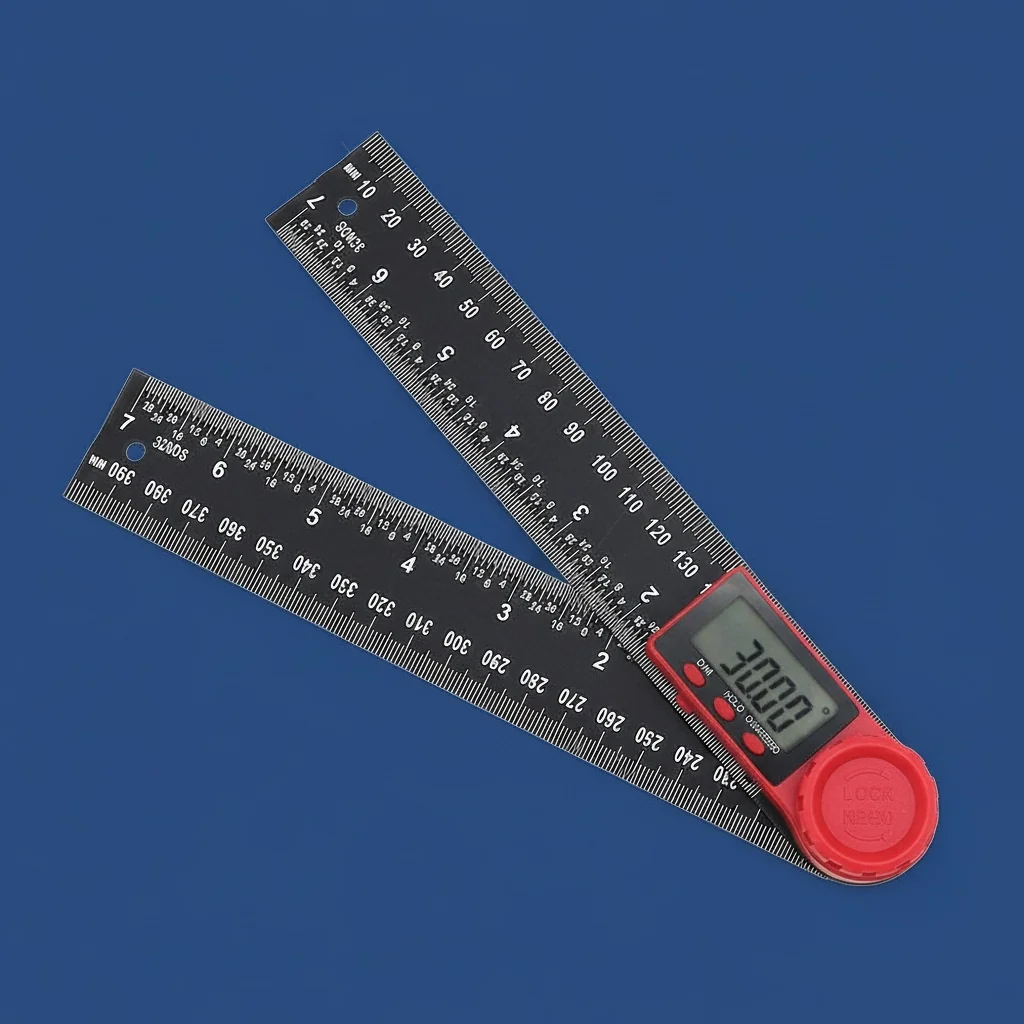
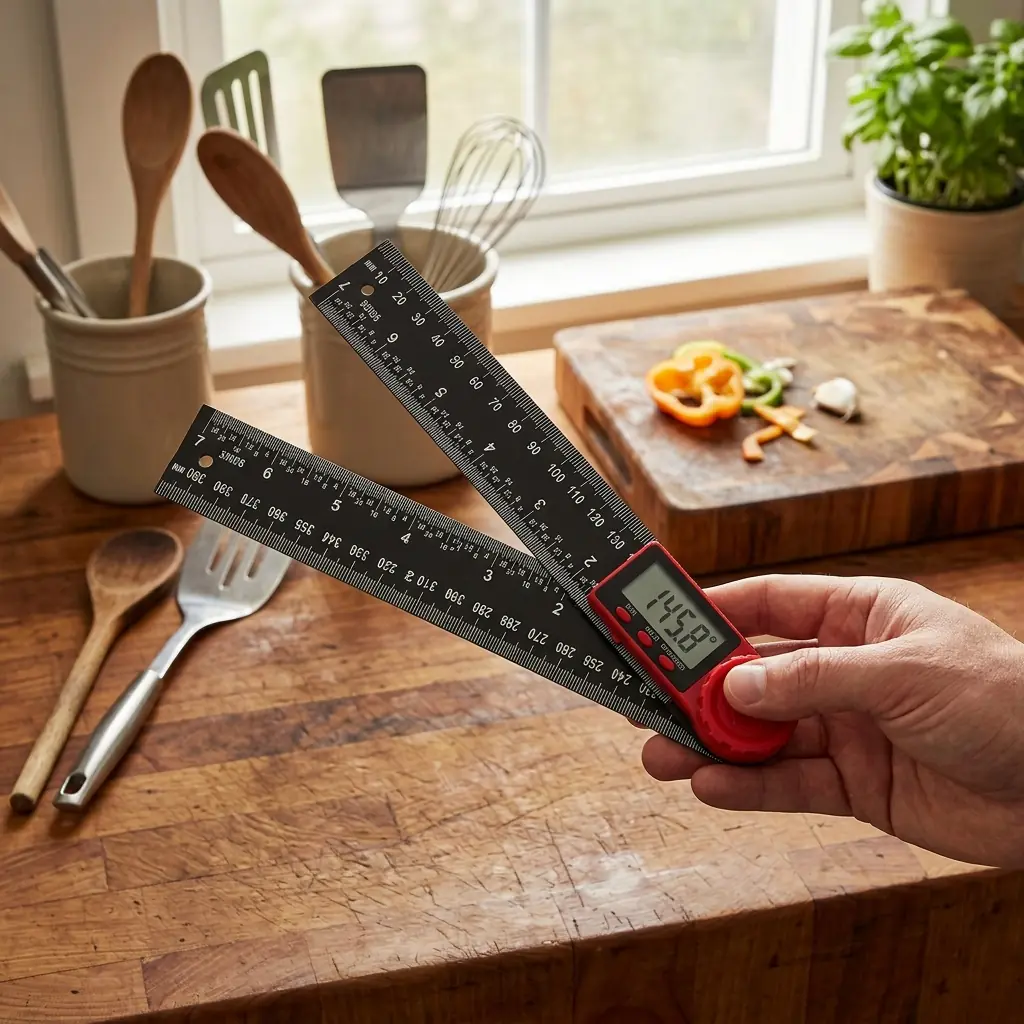
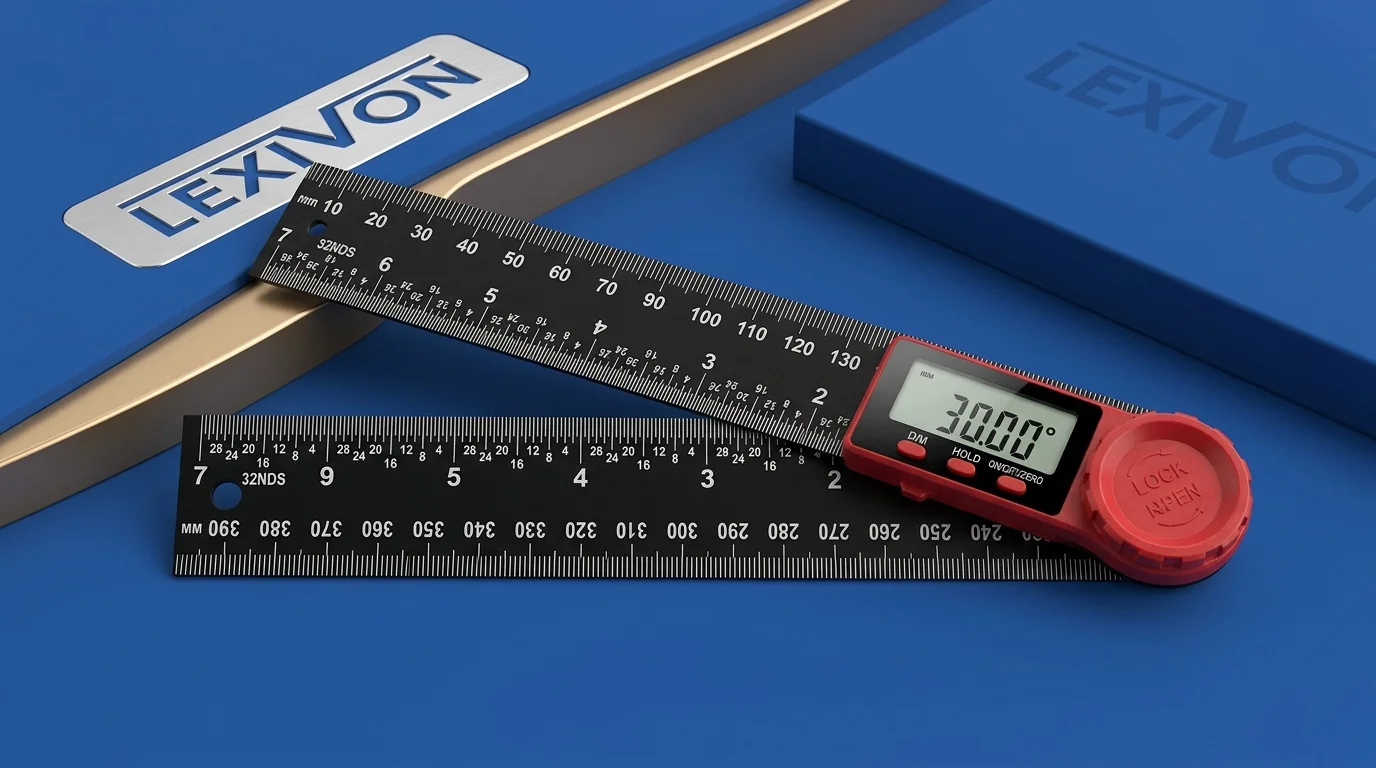
A protractor measures existing angles or helps you mark new ones. Traditional semicircular protractors read 0°–180°. Digital angle rulers — like the LEXIVON Digital Angle Ruler at £33.19 — measure a full 0°–360° range with digital readout accuracy. That's a massive upgrade from squinting at tiny graduation marks.
For woodworking, you'll use a protractor or digital angle finder to:
- Measure existing angles on walls (rarely a true 90° in older UK homes)
- Set mitre saw angles for crown moulding and skirting
- Check bevel angles on hand plane irons
- Verify dovetail angles (typically 1:6 for softwood, 1:8 for hardwood)
The Compass (Geometric Layout)
A compass scribes arcs and circles of precise radius. But it does far more than draw circles. You can bisect angles, divide lines into equal parts, transfer measurements, and create complex geometric patterns — all without a single calculation.
My mate who does bespoke furniture in East Belfast swears by his beam compass for large radius work. And I get why. When you're laying out a curved apron on a hall table, nothing else gives you that smooth, consistent arc across 600mm or more.
The Synergy Between Both
Here's where it gets interesting. Use your digital angle tool to find the exact angle of a corner — say it reads 87.3° instead of the 90° you assumed. Then use your compass to bisect that angle for a perfect mitre. No maths required. The tools do the thinking.
Choosing the Right Protractor and Compass Setup

Not all measuring tools are created equal. I've wasted money on cheap digital angle finders from market stalls that drifted by 2° within a month. So what should you actually look for?
| Feature | Basic Plastic Protractor | Steel Bevel Gauge | LEXIVON Digital Angle Ruler |
|---|---|---|---|
| Price Range | £1–£5 | £8–£20 | £33.19 |
| Accuracy | ±1°–2° | ±0.5° (depends on user) | ±0.1° |
| Measurement Range | 0°–180° | 0°–360° (no readout) | 0°–360° digital display |
| Blade Length | N/A | 150–250mm | 200mm stainless steel |
| Repeatability | Poor | Good | Excellent |
| Best For | School projects | Transferring angles | Precision layout, mitre setting |
| ISO Compliance | No | Varies | Yes — calibrated to ISO standards |
Worth the extra spend? Absolutely. The LEXIVON Digital Bevel Finder range gives you that instant digital readout that eliminates guesswork. When you're cutting 8 pieces of skirting board and each corner is slightly different — which they always are in Belfast terraces built in the 1900s — you need that precision every single time.
For compass work, invest in one with a locking mechanism and hardened steel point. Cheap compasses slip. That 0.5mm drift at the pivot becomes a 3mm error at the pencil tip over a 200mm radius. Not acceptable for joinery.
Practical Techniques for Workshop Accuracy
Theory's grand, but let's talk about actually using these tools on a real project. I'll walk through the techniques I use regularly.
Technique 1: Finding True Wall Angles
Grab your digital angle ruler. Place one arm flat against one wall, the other arm against the adjacent wall. Read the angle. In my experience, UK homes built before 1960 are rarely within 1° of square. I measured one corner in a mate's kitchen at 86.7° — that's over 3° out. If you'd cut your worktop at 45° for that corner, you'd have a visible gap., a favourite among Britain’s tradespeople
The fix: divide the measured angle by 2 for your mitre cut. So 86.7° ÷ 2 = 43.35°. Set your mitre saw to that. Sorted.
Technique 2: Scribing Arcs for Curved Work
Set your compass to the desired radius using a measuring tape or steel rule for accuracy. Lock it firmly. Place the point on your marked centre and scribe in one smooth motion. Don't stop and restart — that's where bumps appear.
For radii larger than your compass allows, a beam compass or trammel points work brilliantly. The Lexivon digital sliding bevel can help you verify the resulting curve matches your intended angle at any point along the arc.
Technique 3: Layout for Dovetails
Here's my process:
- Set your digital angle tool to your chosen ratio (14° for 1:4 hardwood dovetails)
- Use the angle as a guide to set your sliding bevel
- Mark your pin spacing with dividers (a type of compass) — equal spacing every time
- Scribe your lines with a marking knife, not a pencil
This method gives you consistent, repeatable dovetails that look hand-cut (because they are) but with machine-like regularity. The digital measuring tape approach some people use for spacing? It works, but dividers are faster and more accurate for repetitive equal divisions.
Technique 4: Checking Square on Large Panels
Don't trust a small square on a large panel. Instead, use the 3-4-5 method with your compass. Set it to 300mm, scribe from the corner along one edge. Reset to 400mm, scribe along the other edge. If the diagonal between those two points measures exactly 500mm on your body measuring tape, you're square. If not, you know exactly how far out you are.
Digital vs Analogue: What's Actually Worth It?
Digital angle measurement tools have dropped in price significantly since 2024. The question isn't whether to go digital — it's which digital tool gives you genuine value.
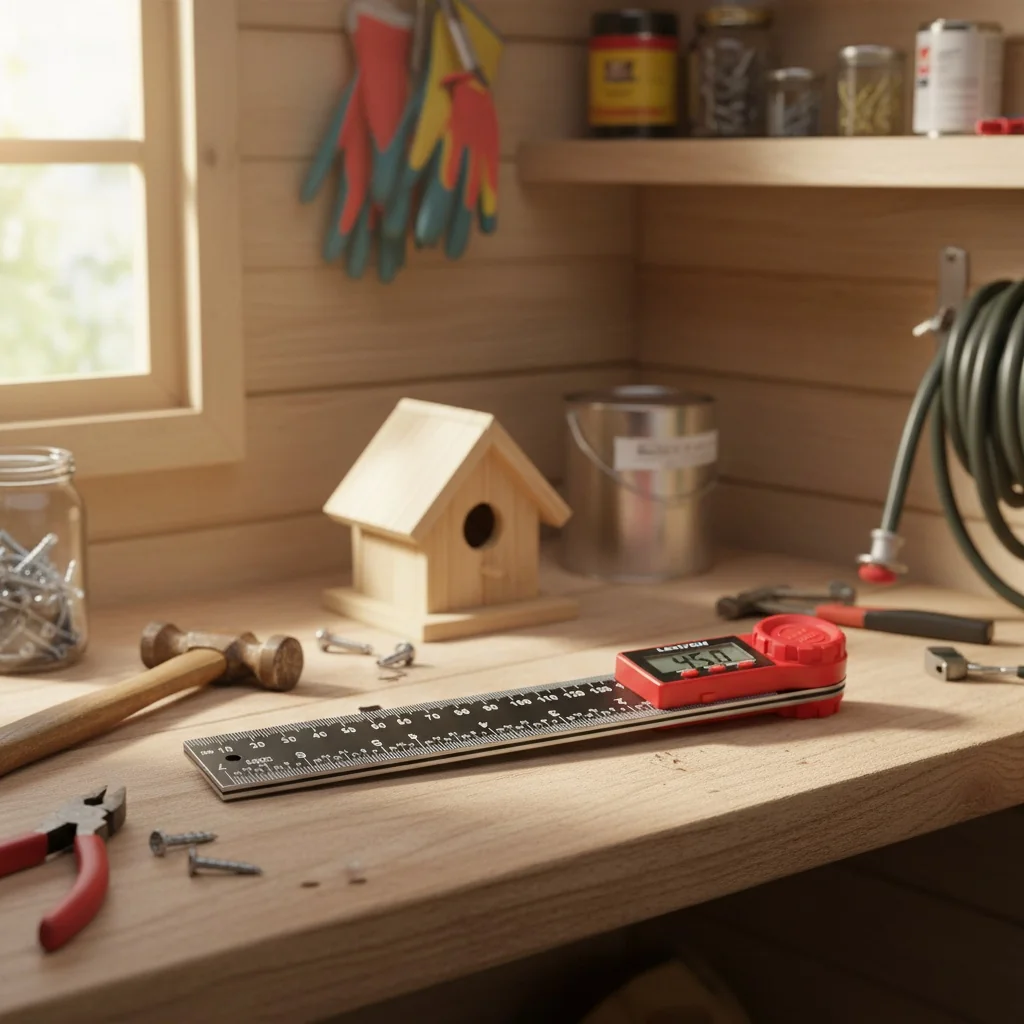
The LEXIVON Digital Angle Ruler at £33.19 sits in a sweet spot. It's not a £5 toy that'll break in a week, and it's not a £150 engineering instrument you're afraid to take on site. It's a proper working tool. I've used mine in the workshop and on site without babying it.
Real-world test: I measured the same 8 corners in a room using both a traditional protractor and the LEXIVON digital angle ruler. The digital tool gave consistent readings within ±0.1° across all measurements. The manual protractor? My readings varied by up to 1.5° depending on viewing angle and lighting. That parallax error is real.
To be fair, analogue tools have one genuine advantage: they never need batteries. For quick reference angles you use constantly (like a 45° or 90° check), a quality combination square is still unbeatable. But for measuring unknown angles? Digital wins every time.
The Lexivon digital bevel range also includes hold functions — press a button and the reading locks. Brilliant for when you're measuring in an awkward spot and need to carry the reading back to your saw. Try doing that with a traditional bevel gauge without bumping it. (I have. Repeatedly. It never ends well.)
So what's the catch? Battery life, mainly. Though modern CR2032 cells last 1,000+ hours of use in most digital measuring instruments. I change mine maybe once a year.
For those researching consumer buying guides on Which?, you'll find that digital measurement tools consistently score higher for ease of use and accuracy compared to their analogue equivalents — particularly for users over 40 whose close-up vision isn't what it was.
Common Mistakes and How to Avoid Them

After years of DIY projects — some brilliant, some I'd rather forget — here are the errors I see most often with angle and layout tools.
Mistake 1: Not Accounting for Blade Kerf
You've measured your angle perfectly. Marked it precisely. Then cut on the wrong side of the line. Always mark your waste side clearly. A simple "X" on the offcut saves heartache.
Mistake 2: Using a Dull Compass Point
A worn compass point skates across hardwood instead of gripping. Sharpen it with a fine file or replace the point. The pivot must stay exactly where you place it — any drift ruins your arc., popular across England
Mistake 3: Measuring from Rough Edges
Your angle measurement is only as good as the reference surface. If you're placing your digital angle ruler against a rough-sawn edge, you'll get inconsistent readings. Always measure from a prepared face or edge. This is basic stuff, but I still catch myself doing it when I'm rushing.
Mistake 4: Ignoring Temperature Effects
Metal rules and measuring tapes expand in heat. At 35°C versus 15°C, a 5m measurement tape can vary by up to 1mm. For most DIY garden ideas and home projects, this won't matter. For fine furniture, though, work in consistent temperatures or compensate.
The Health & Safety Executive (HSE) also recommends proper workshop temperatures between 16°C and 24°C for manual work — which conveniently is also the ideal range for consistent measurements.
Mistake 5: Not Verifying Your Tools
Check your angle tools against a known reference — a machinist's square or a calibration block. Do this monthly if you're using them regularly. Even quality digital tools can drift after a knock. The LEXIVON units have a zero-reset function that helps, but physical verification against a known standard is still best practice.
Frequently Asked Questions
What's the difference between a protractor and a digital angle ruler?
A traditional protractor is a semicircular tool reading 0°–180° that requires visual alignment. A digital angle ruler like the LEXIVON (£33.19) uses electronic sensors to display angles from 0°–360° with ±0.1° accuracy. The digital version eliminates parallax error and provides instant, lockable readings — far more practical for workshop use where speed and precision both matter.
Can I use a protractor and compass for tiling angles?
Yes — and you should. Tiling around non-square corners requires exact angle measurement to calculate tile cuts. Use your digital angle finder to measure the wall angle, then divide by 2 for your mitre cut angle. A compass helps scribe curves around pipes. For a typical UK bathroom with 4–6 non-square corners, this approach saves roughly 10–15 tiles worth of waste from bad cuts.
How accurate does a protractor need to be for woodworking?
For general DIY, ±0.5° is acceptable. For furniture making and fine joinery, you need ±0.1° or better. At ±1° error on a 600mm mitre joint, you'll see a gap of approximately 0.5mm at the outer edge — visible and unprofessional. The LEXIVON Digital Angle Ruler achieves ±0.1° accuracy, which keeps gap errors below 0.05mm on typical domestic joinery lengths.
Are Lexivon tools suitable for professional trade use?
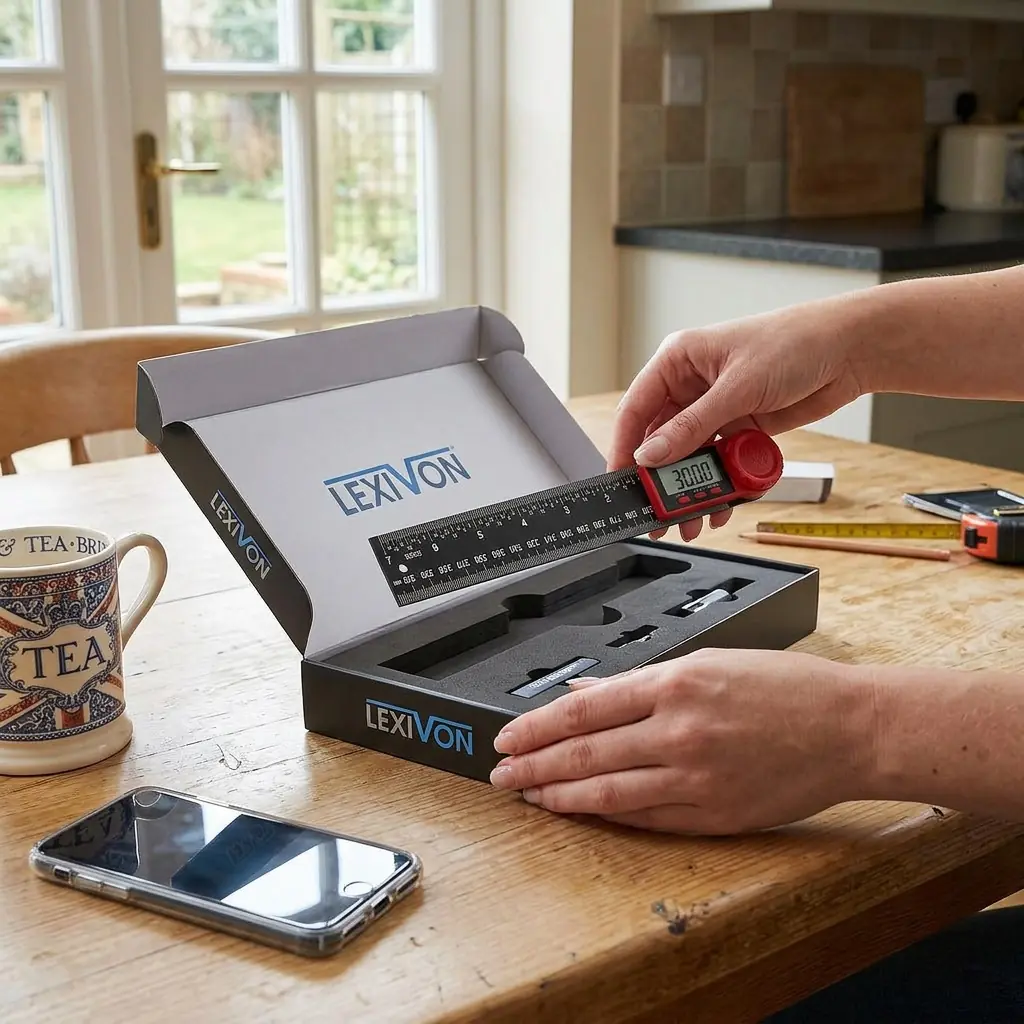
Absolutely. Lexivon tools are designed to meet ISO standards for precision measurement. The Digital Angle Ruler features stainless steel construction, a hold function for awkward measurements, and accuracy that matches instruments costing twice the price. At £33.19, it's used by both professional joiners and serious DIY enthusiasts across the UK. The build quality handles daily site use without issue.
How do I maintain my compass for long-term accuracy?
Keep the pivot joint clean and lightly oiled with a drop of 3-in-1 oil every few months. Sharpen the steel point with a fine diamond file when it becomes rounded — a sharp point should grip wood fibres without skating. Store with the legs closed to protect the point. Replace pencil leads with H or 2H grade for fine, consistent lines. A well-maintained compass should last 10+ years of regular workshop use.
What's the best way to measure angles in old UK houses?
Use a digital angle finder placed directly into the corner, with both arms flat against the walls. Measure at both floor level and worktop height — corners often vary by 1°–3° between top and bottom in pre-war UK properties. Take 3 readings and average them. For skirting and coving, measure at the height where the material will actually sit. Never assume any corner is 90° in houses built before 1970.
Key Takeaways
- A protractor and compass work best together — the angle tool measures, the compass transfers and constructs geometric layouts with consistent precision.
- Digital angle rulers eliminate parallax error — the LEXIVON Digital Angle Ruler (£33.19) provides ±0.1° accuracy across a full 360° range, outperforming manual protractors by a factor of 10–20×.
- UK homes are rarely square — always measure actual wall angles rather than assuming 90°. Expect 1°–3° deviation in properties built before 1970.
- Invest in quality over quantity — one accurate digital angle tool and a well-made compass will serve you better than a drawer full of cheap alternatives from B&Q power tools aisles.
- Verify your tools monthly — check against known references and use the zero-reset function on digital instruments to maintain calibration.
- Temperature and technique matter — work in 16°–24°C environments and always measure from prepared surfaces for consistent results.
- The 3-4-5 method with a compass remains the fastest way to verify square on large panels without expensive equipment.
Getting Started with Better Measurement in 2026
Look, I know this might seem like a lot of fuss over measuring angles. But here's the thing — every project I've done where the results looked truly professional came down to accurate layout work at the start. Not expensive timber. Not fancy joints. Just precise measurement and marking.
A quality protractor and compass setup doesn't need to cost a fortune. The LEXIVON Digital Angle Ruler at £33.19 paired with a decent engineer's compass (£10–£15) gives you a complete precision layout kit for under £45. That's less than the cost of the timber you'll waste on bad cuts without them.
Whether you're tackling DIY ideas around the house, building furniture, or fitting kitchens professionally, these fundamentals don't change. Measure twice, cut once isn't just a saying — it's a workflow. With digital tools making that measurement faster and more reliable than ever, there's really no excuse for guesswork.
I'd recommend starting with the Lexivon range and building your confidence with the techniques above. Your joints will thank you. Your wallet will thank you. And you won't be filling gaps with caulk and hoping nobody notices.
Ready to try LEXIVON?
Shop Now — £33.19